

User manual › Chapter 7
Slides, giving and Connect
Make announcement slides, sermon points with fill-in blanks, giving slides with a QR code, and Connect slides with your church's social media.
Add these from the bottom of the Service tab. Click ✎ beside one to change it later; if it is on the projector, it updates straight away.
Text slides and announcements
- Click + Text.
- Give it a Heading (optional) and type the Text.
- Leave a blank line to start another slide — one item can hold several announcements.
Sermon points
Each line is a point, revealed one at a time as you press →.
- Click + Sermon points, enter a Title and one point per line.
- Put
[[double brackets]]around words to show a blank first, then fill it in on the next press — perfect for sermon notes the congregation fills in.
God loves you
He gave His [[only Son]]
Believe and live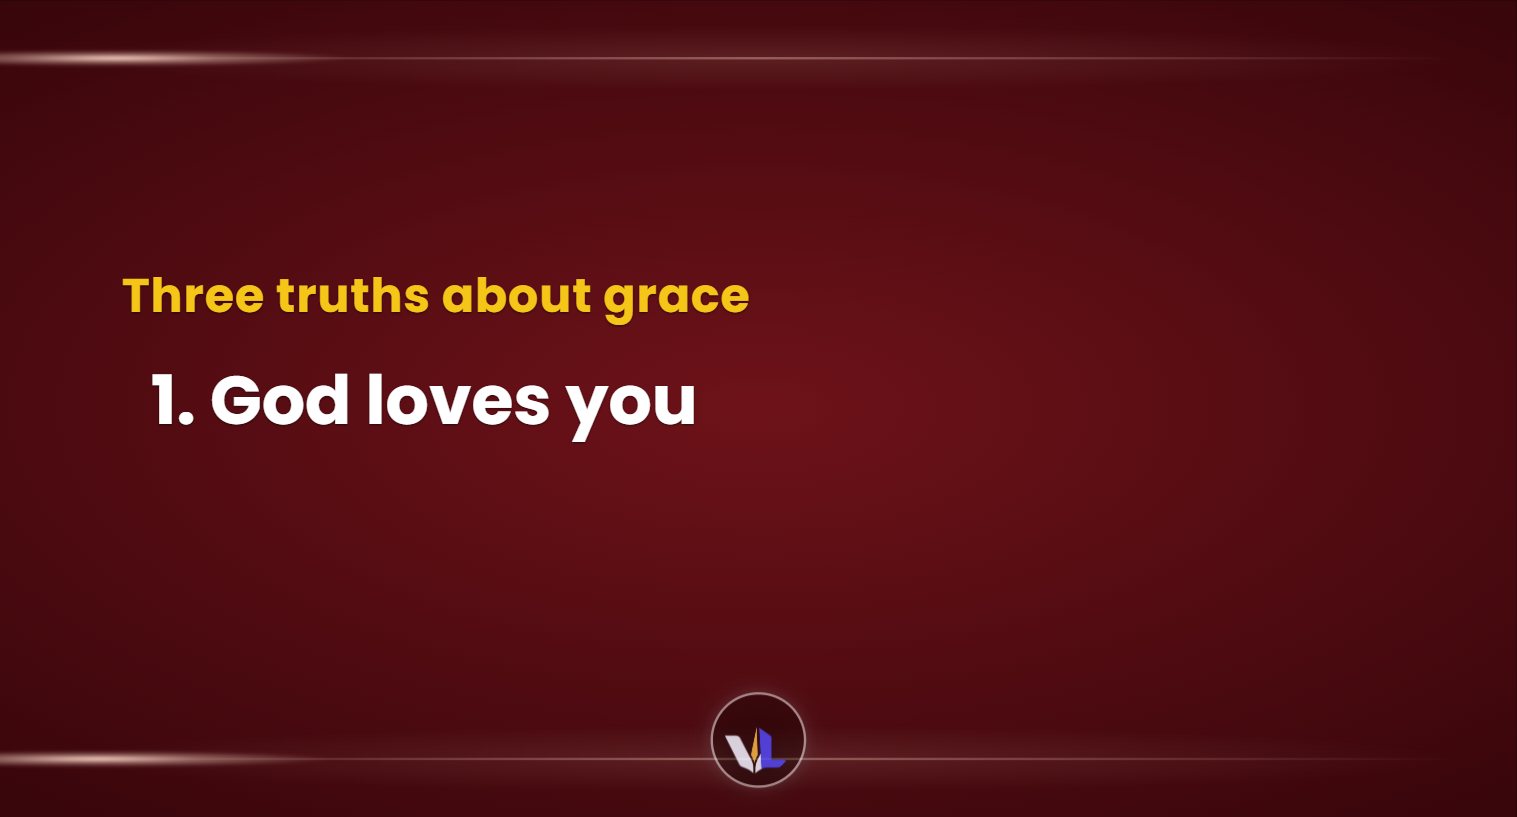
Giving slides
- Click + Giving. The heading starts as “Tithes & Offerings”.
- Type the Account details — bank, account name, account number.
- Optionally add a QR code: a payment link (for example Paystack, Flutterwave or PayPal) or account text. It is shown large beside the details so people can scan it.
Connect slides (social media and QR codes)
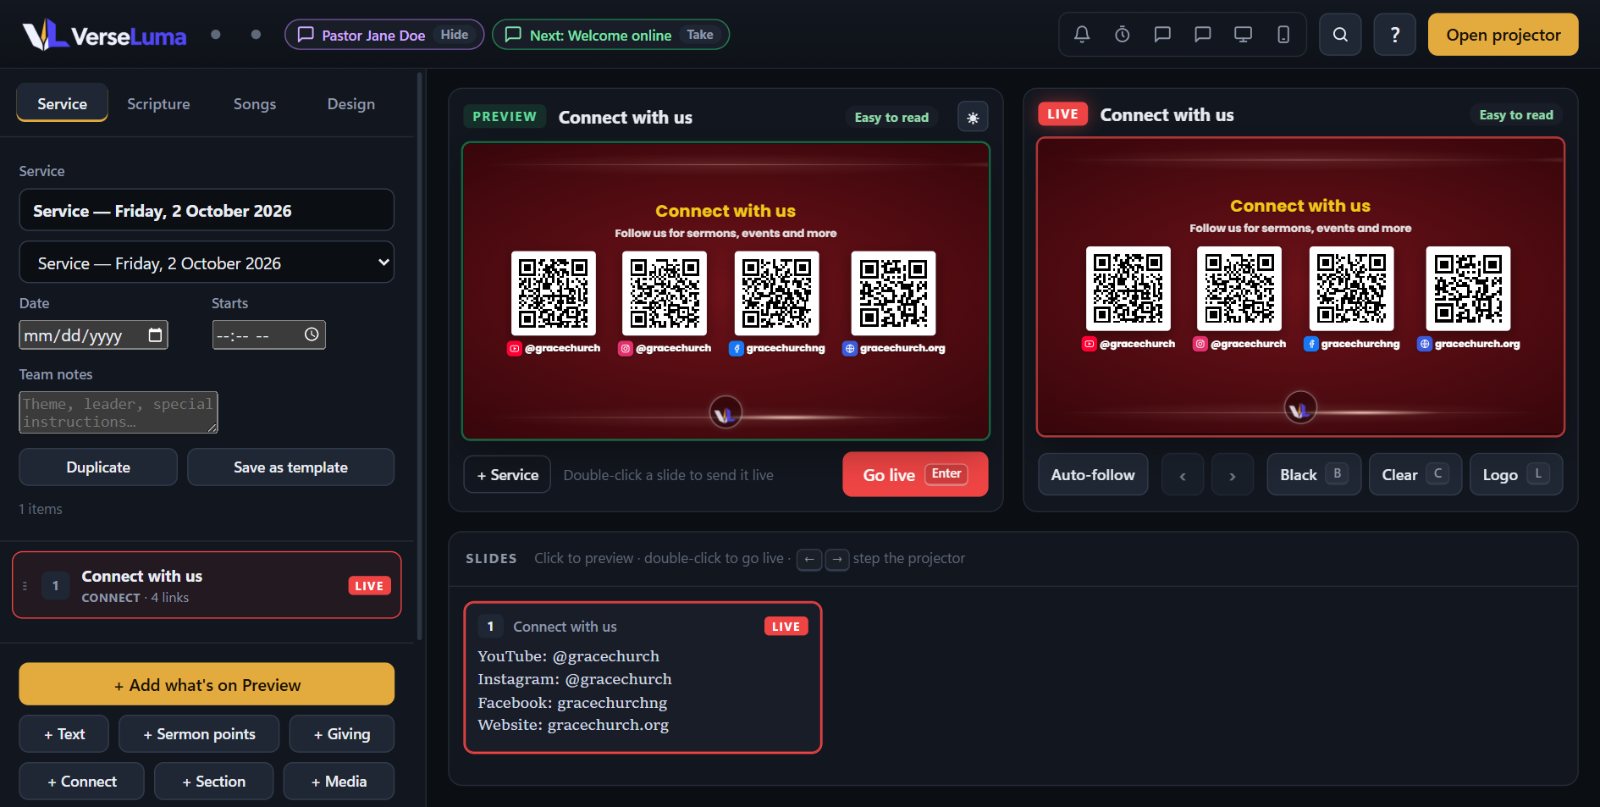
A Connect slide shows your church's links — YouTube, Facebook, Instagram, TikTok, X, WhatsApp, Telegram, Spotify, website, email, phone or any other link — as QR codes or handles.
1. Save your links once
- Go to Design → Church branding → Social media & links…
- For each link, choose the platform and type the handle the easy way:
@gracechurch,gracechurch.org, or a WhatsApp number with country code. VerseLuma builds the full address and shows a small QR code to check. - Optionally add Text on screen (for example “Chat with us” instead of the number). Reorder with ↑ ↓.
Change a handle here and every Connect slide updates — even one that is live.
2. Add a Connect slide
- Click + Connect, give it a heading (“Connect with us”) and an optional message.
- Tick the links to show. If all are ticked, links you add later join automatically.
- Choose a Layout:
- QR codes for every link — a grid of codes with icons and handles.
- One big QR code, the rest as handles — the starred (★) link as a large code.
- Handles only — icons and handles, ideal for the livestream.
- One link at a time, rotating — changes every 6 seconds.
TipScan each QR code with a phone before Sunday to check it opens the right page.
Pre-service loop
Before the service, click ▶ Pre-service loop in the Service tab. Tick the announcements, giving, Connect slides and pictures to show, choose how many seconds each stays up, and optionally show a countdown in the corner to the start time (“Service begins in”). The loop runs until you send something else live.